Contents
This post may contain affiliate links! I will receive a commission, at no extra cost to you, if you purchase something recommended here.
In no particular order, owning your own blog is:
- Rewarding
- Confusing
- Frustrating
- Exciting
- An absolute accomplishment
It’s the most incredible feeling when all of your hard work and long nights pays off with your first reader, your 10th email subscriber, your 1,000th pageview.
The day you can officially say you make your living as a blogger.
You’ve developed a community of people interested in the same things you are and are virtually here to support you along the way.
But first, you have to build it.
I like to say, when you learn how to start a travel blog, it’s like building your dream home from the ground up.
Visualizing Your Blog
Contrary to a popular internet belief, learning how to start a travel blog takes more than 10 minutes. To successfully begin your blog, you need to start by imagining your concept and picking your niche. This is the stage where you’re outlining what your “dream house” will look like, and how it will function.
Questions to think about when planning how to start a travel blog:
- What do you want to blog about?
- Who is your audience?
- How are you going to help your readers?
- If you plan to monetize your blog, how?
- What platform do you want to use?
Although there are a few different platforms to build a website online, if you plan to develop your blog into a business, WordPress.org is the way to go. This gives you the most options and flexibility since your blog will evolve and change as you start to grow.
Take your time, don’t rush this planning stage! When you consistently provide value in your chosen field and build trust with your audience, your readers will keep coming back.
Set up Hosting
Now, the first step in how to start a travel blog is deciding on hosting. I like to think of your hosting program as land you’d purchase to build your dream home on. Without land, you can’t build a home, and without hosting, you can’t create a blog.
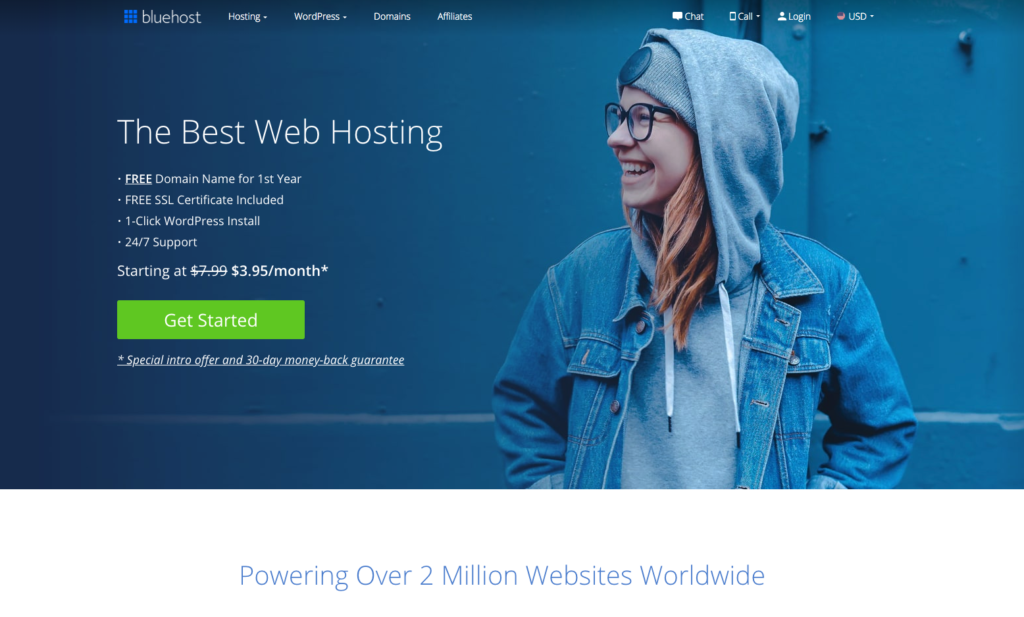
Bluehost is an excellent choice for a new blogger. They can automatically install WordPress.org for you. There are no restrictions on monetization methods. They have the most user-friendly interface I’ve seen, and their customer service is fantastic. The few times I’ve had a problem that I couldn’t figure out on my own, I reached out to a member on their customer service team through their chat feature, and the problem was fixed within a few minutes.
Start by heading to the Bluehost website and select “Get Started.”
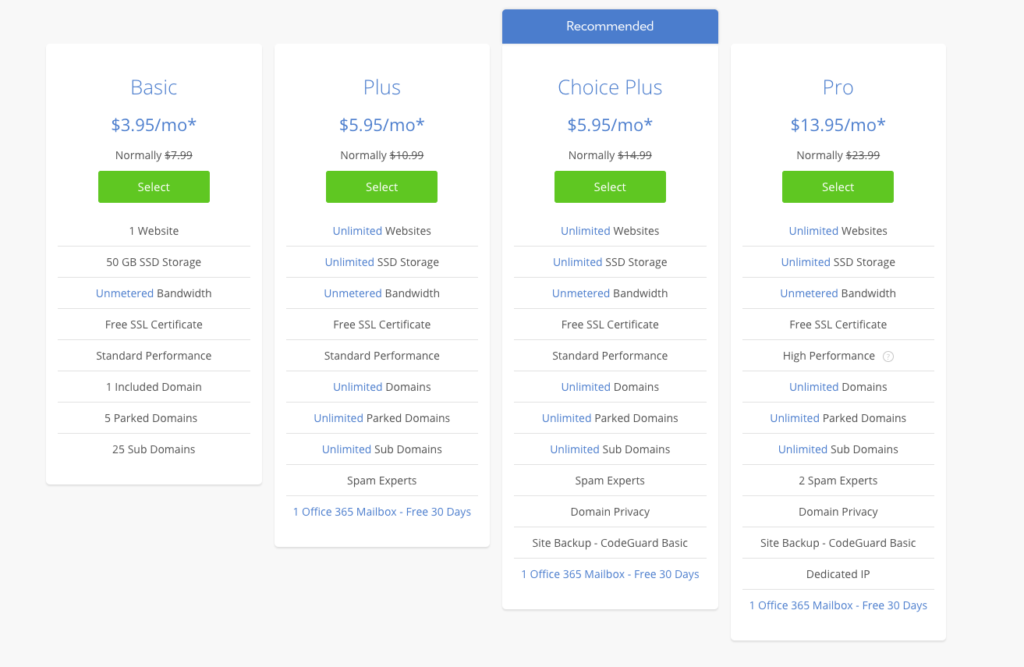
Next, you’re going to select which hosting package you’re interested in. When I picked my hosting package, I chose Choice Plus. For me, the critical difference between Basic and Choice Plus is that Domain Privacy and Site Backup – CodeGuard Basic is included. When I first decided to learn how to start a blog, I knew next to nothing about building a website. If Bluehost was going to automatically keep my site secure and a backup, the extra $2 per month was well worth the investment!
Now comes the fun part! If you’ve decided to create a blog, you probably have your website link picked out. But this is the page where you can purchase a domain. With Bluehost, your domain is free for the first year! Otherwise, if you already own a domain you want to use, this is the time to put it in to transfer it to your new website.
Things to remember when picking your domain:
- Unless you’re going for a particular style, try to find a domain that ends in .com. These have the most authority online, and its the easiest to remember for your audience
- You want everything to be cohesive. Having your domain name and all of your social media handles match (as closely as possible) is recommended.
- Remember, you want to make it as easy as possible for your audience to find you, so try to avoid unusual word spellings.

Time for more information! Your personal details go here. I suggest you create a free Gmail in line with your domain name. Make it the default for all of your new accounts associated with your blog. As you progress through your blogging journey, you’ll realize just how many accounts you’ll need to register for, and having them all attached to one dedicated email address will keep you much more organized.

Next up–the financials. You can use any credit card through Bluehost’s secure online payment system. You’ll need to select your account plan again, but this time, for how long do you want to secure hosting. Instead of paying monthly, you’ll pay for a select number of months upfront. This first big purchase for your blog can feel a bit daunting, so choose whatever is right for you.
However, since you’re here learning how to start a travel blog, I want to mention that the pricing for a new hosting plan (with just about any company) is almost always less expensive than the price for renewing your hosting plan. This is also where you can choose any extras, like SiteLock, Bluehost SEO Tools – Smart plan, and a one month free trial of 365 Mailbox.


Once your payment is submitted, you’re ready to enter your blog!
Take a deep breath, pop some champagne, or make a celebratory phone call. You’ve worked hard to get to this moment.
Then, create your password and log in.
Set up WordPress.org and Your Theme
Now we’ve come to the fun parts in how to start a travel blog, like officially naming your site and choosing your platform!
Next, you’re going to install WordPress.org to Bluehost. If Bluehost is the land for your dream home, WordPress.org is the poured foundation. You can’t build a house without land to build it on, but the next most important is the foundation on which your home will rest and be secure. Again, Bluehost automatically installs WordPress.org for you, so keep following their directions for a successful set-up.
This is also the stage where you’ll choose your first website theme. Sticking with the dream house analogy, your theme is the layout of your dream house. It’s how your website actually looks to any reader on the site.
Finding the right theme for your site is an important task. For this initial set-up, choose one of the WordPress.org free themes that interests you to start with. You can always choose a different theme later on. There are tons of paid and premium theme options on the market, so definitely look around and decide what you like best.
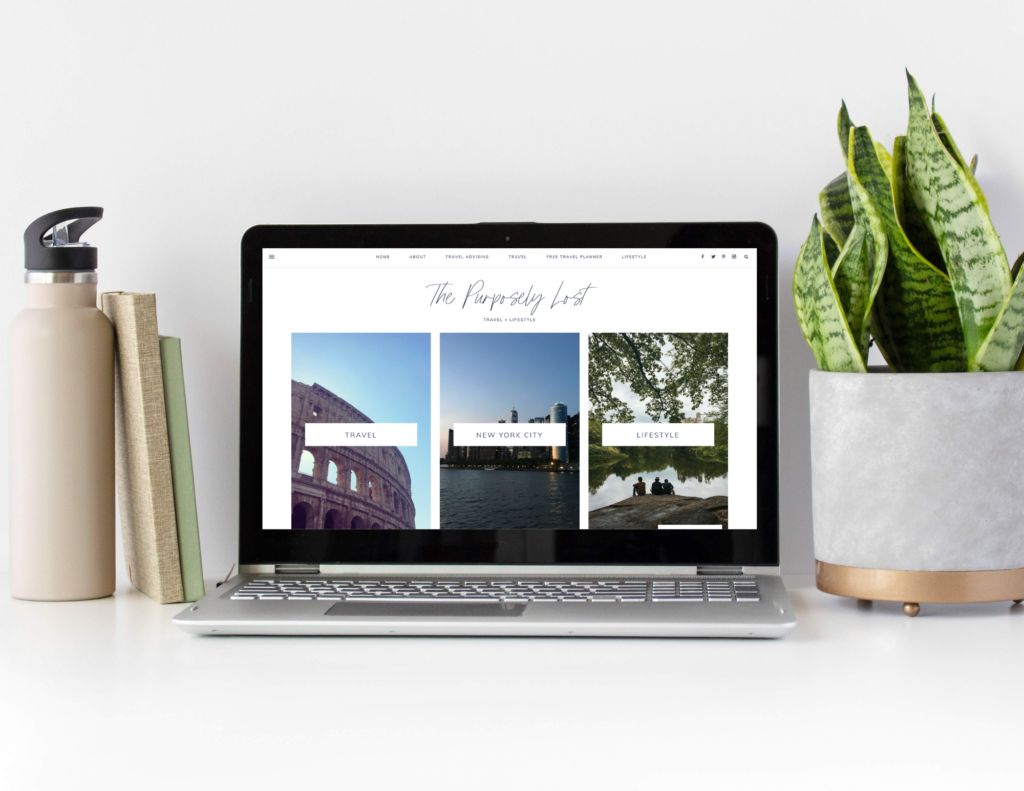
My site uses Genesis Framework with a 17th Avenue Designs child theme. You can purchase a package that includes both components from their website. I spent a long time looking for my perfect fit, and 17th Avenue Designs has been fantastic with both functionality and style.
Publish Your First Posts
Finally, we’re on to how to write a travel blog! Your posts are the furnishings of your dream house, that transforms your house into your personalized home.
You’ll want at least one post to read on your blog once you make it live, but the more you can have posted, the better. When your readers arrive for your excellent content, you want them to stay! The more posts you have published initially, the more opportunities you have to interlink your posts and keep readers on your site for longer.
At this point, you also need to set up your legal pages. These include your Privacy Policy, your Affiliate Disclaimer, a Terms and Conditions section, and your About Me and Get in Touch pages.
Learn SEO – Search Engine Optimization
If there’s something I wish I knew when I first learned how to start a travel blog, it was to study Search Engine Optimization (SEO). When you search a topic on Google, how does Google know which piece of content on the internet is relevant to your question, to then show you? Keywords within your writing help indicate what your post is about, which then allows search engines to find your work and show it to the relevant audiences.
Since it takes a while to build trust with search engines to start highly-ranking your content, this is a long-term goal for consistent traffic to your site. While this seems overwhelming, if you can start your blogging career with a basic understanding of SEO best practices, you’ll create confidence with search engines about your content from the get-go.
The best starting SEO course I’ve found has been Moz’s The Beginner’s Guide to SEO. Moz is an SEO industry standard, so it makes sense to read about search engine optimization right from a source! The Guide breaks down the massive concept of SEO into smaller, more manageable lessons, and gives examples of how you can implement this into your site.
To track how your audience interacts with your site and see how your keywords are faring, be sure to set up Google Analytics and Google Search Console. This can be done with an SEO plugin like RankMath or Yoast. While I worked on how to start a travel blog with Yoast, I’ve now moved over to RankMath. RankMath is the most user-friendly option and has far more relevant recommendations and customizations for your content than Yoast.
Building Your Email List
Another component you need to have on your live blog when you’re determining how to start a travel blog is a way to build your email list. Even though social media platforms are great for driving traffic to your site, you don’t own your profiles. One day, they could disappear. When you develop an email list, this is a direct link to your most dedicated audience members.
My favorite system for this is ConvertKit. I’ve used a few different services, and this is the most user-friendly option. ConvertKit easily allows you to host your opt-in freebie on its platform and has gorgeous landing page templates and opt-in forms to embed on your site. You don’t need to learn to code or design to create impressive, functional products to start growing your business.
At a minimum, make sure you set up a form on your homepage and on your static sidebar to encourage your readers to sign up for your email list.
To help persuade people to sign up for your email list, it’s great to offer them an opt-in freebie. This could be a checklist, printable, guide, or even a free email course, teaching them a new skill. Canva has tons of templates that you can customize for your freebie.
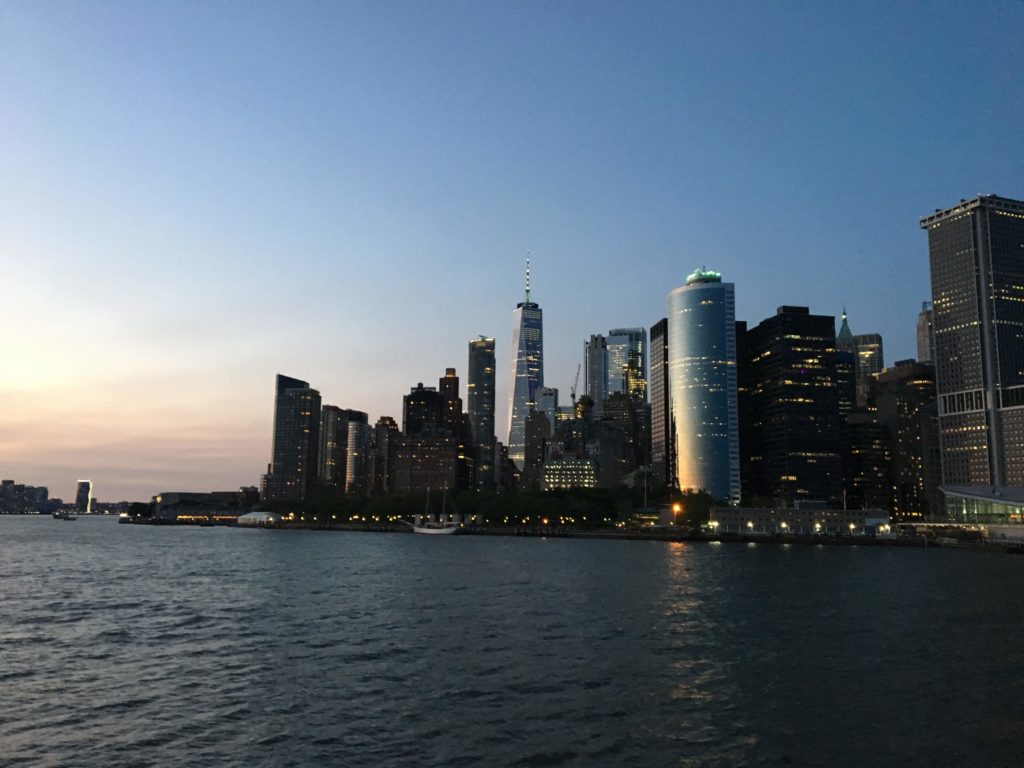
Here’s an example of a landing page I made with ConvertKit where you can grab my opt-in freebie, Your Guide to the Best Free Things to do in New York City, and below is one of their inline subscriber opt-in options where you can find my Travel Planner.
Growing Your Audience with Social Media
As mentioned before, you want to make sure your domain name is available to use as your social media handle on most, if not all, platforms. It’s totally up to you which forms you want to be active on:
- Facebook page
- Hosting your own Facebook group
- TikTok
- Forum sites like Reddit and Quora
All of these sites offer different methods of building an audience and community. But the main objective is getting your content out there, on the internet, for more people to find. Help people, answer their questions and be a supportive member of your community.
When you’re first beginning with how to start a travel blog, it’s best to secure your handle on all of them. However, only focus on posting content on a few. Then, as you grow, you can dabble in using additional social media platforms.
Without a doubt, Pinterest should be the first social network site you set up. It’s actually a misnomer to call Pinterest a social media platform–it’s actually more like a search engine. When you post content to Pinterest and optimize your description with keywords, people interested and searching for those topics will find your posts. When you’re first starting as a blogger, Pinterest is a great way to drive engaged traffic to your site before traffic from search engines starts to build.
The best class I’ve taken to teach you about how to use Pinterest effectively for business is Pinterest with Ell. Ell is a Pinterest manager and blogger who utilized Pinterest to exponentially grow her audience. Inside her course, she breaks down the basics of running a creator Pinterest account, as well as introduces more advanced tactics.
However, for people to find your posts on Pinterest, you need to create Pins. Canva is the best tool to create graphics for publishing on Pinterest. They have a free and paid library of templates and stock images to use. Also, many bloggers sell Pinterest Pin templates for you to apply for a cohesive look. I used Simplifying DIY Designs for Pinterest templates (and opt-in freebie templates) when I started out. You can also use Pinterest to create your blog’s logo and determine its branding colors and fonts.
Reading through all of this can be very overwhelming when you learn how to start a blog. But remember, this is not all to be done in one day! Start small with easy, actionable tasks like writing your posts, or creating graphics for Pinterest, while also making time to learn more about the more significant concepts like SEO and how to communicate with your email list. Remember, every element, big or small, that you add is a step closer to your perfect “dream home” of a blog.
Now that you learned how to start a travel blog, what are you waiting for?! Get out there and start building!